


Culinary Column: Homemade Valentines Starbucks Birthday Cake Pops
The perfect Valentine’s Day treat to enjoy with the people you love!

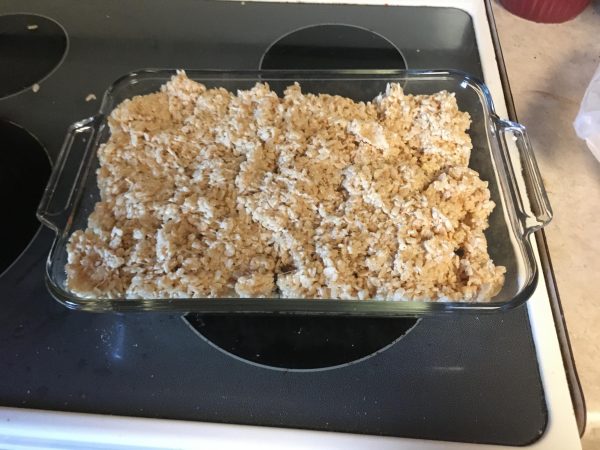
If you like the cake pops served at Starbucks and wish you could make them at home, this recipe is perfect for you. Birthday cake pops are one of my favorite snacks from Starbucks, and I’ve always wondered how to make them as moist and delectable as the coffee shop does. Your problems are long over, because this recipe tastes just like Starbucks! This recipe, in my opinion, is qualified for intermediate bakers. I wasn’t using a specific online or family recipe for reference, so it was challenging to make up a recipe on the spot while baking. I hope you’ll enjoy my creation!
Ingredients:
- 1 box of Duncan Hines classic white cake mix
- White chocolate candy melts
- Pink/red gel food coloring
- Blue gel food coloring
- Cake pop sticks
- Small ball sprinkles
- Cardboard box or cake pop stand
- Powdered sugar
- Butter
- Vanilla extract
- Milk
- Shortening
Instructions:
- Bake your cake following the directions on the box.
- Once the cake is cooled and out of the pan, cut off the crust leaving you with your fluffy white cake.
- Crumble your white cake with your hands and set aside.
- To make your icing; mix together ¼ cup of powdered sugar, ½ tablespoon of milk, ⅛ teaspoon of vanilla extract, and 1 teaspoon of melted butter.
- Mix your icing together until smooth; if you need to make the icing thicker add powdered sugar, if you need to make the icing thinner add small amounts of milk.
- Add two tablespoons of icing to the crumbled white cake and mix until a dough is formed.
- Next, melt about ½ a cup of white chocolate candy and 1 tablespoon of shortening. You can melt them on a double boiler, in the microwave, or (like I did) use a chocolate melting pot.
- Add your desired amount of food coloring to your melted chocolate, I used a dot of red and a smaller dot of blue.
- Once your chocolate is melted, roll your dough into balls about 1 – 1 ½ inches in diameter.
- Puncture holes the size of your cake pop sticks in the cardboard box, do this for as many cake pops you will make.
- Coat 1 inch of your cake pop sticks in the melted chocolate, then stick it through a dough ball.
- Do this for as many balls you have and stick them in the holes of your cardboard box when they have been attached to the sticks.
- Place your box or stand in the freezer for about 15 – 20 minutes.
- Repeat the chocolate melting process and double recipe if needed.
- Coat your cake pops in a thin layer of chocolate, then twist until chocolate is not dripping off of it anymore.
- While the chocolate is still liquid on the cake pops sprinkle you sprinkles on them to your desired amount.
- Set them back in your stand and let them dry.
- Enjoy!
There were many trials and tribulations throughout my experience. Making a box cake was simple, however, when the time came to cover the cake pops it took some finesse to pull off. You have to make sure your chocolate isn’t too warm, so it won’t deconstruct your dough balls, but it has to be warm enough that you can still successfully coat them. I enjoyed making this recipe because the results were delicious! Cake pops can be a bit challenging to make, however, I suggest you try them out if you’re interested. This would be a great treat for the upcoming holiday, Valentine’s Day. Have fun baking, and enjoy the treats!

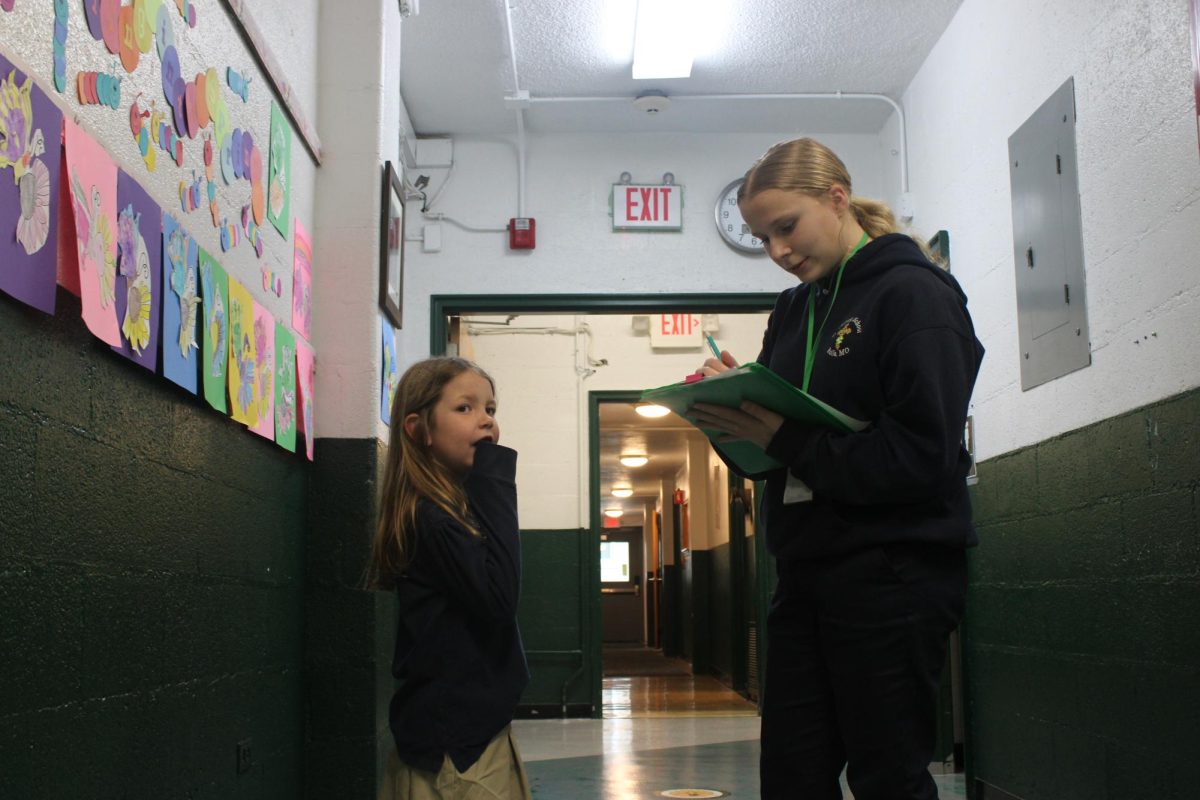
My name is Callie, I was born here, in Rolla, Missouri. I’ve been going to Saint Patrick School for eleven years. I’m stressed and always tired. Decorating...